
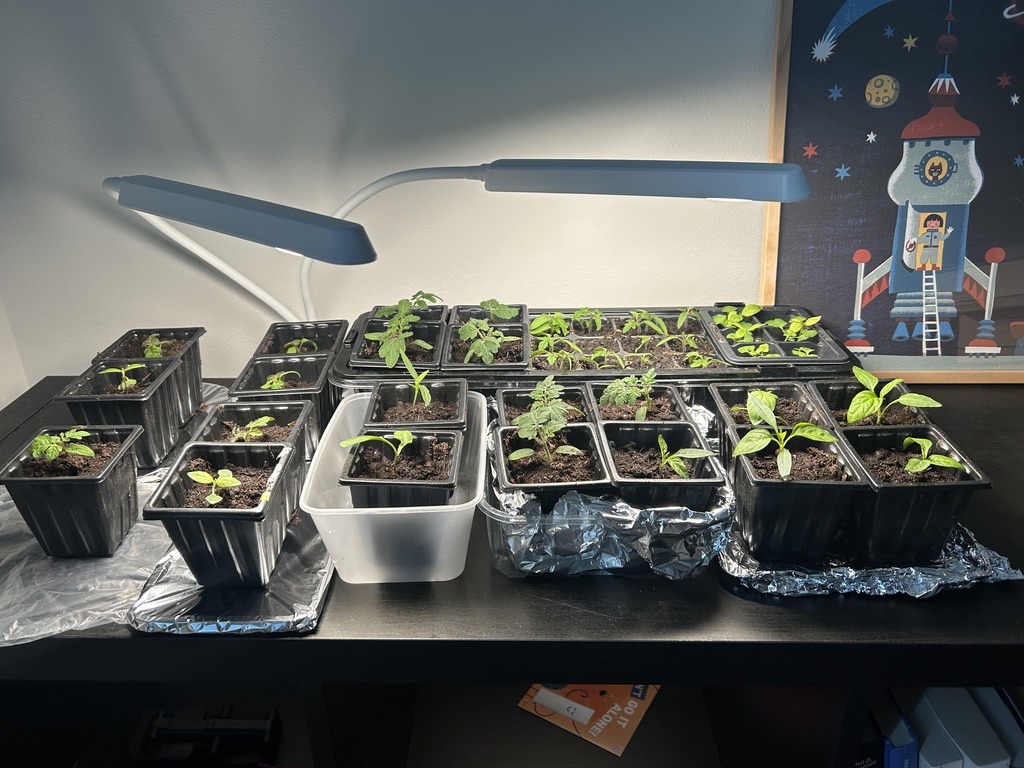
Last time I wrote here about my balcony/indoor gardening, I was a complete newcomer fumbling my way through the seedling stage in my little Finnish apartment, hovering over a tray of soil and hoping something would happen. Well, something did! The seeds germinated! Tiny green shoots pushed their way up, the first true leaves unfurled past the smooth little cotyledons, and before long my chili, tomato, and basil seedlings had grown big enough to need a bigger home.
So here I am again, sharing my personal notes from the next exciting chapter of learning to keep plants alive: my very first pot-up.
Knowing when they were ready
I quickly learned not to rush this part. A seedling tells you when it’s ready to move, and the job is just to read the signs. The clearest one is the foliage. You want to see two to four true leaves, which is the proper, plant-shaped ones, not the rounded seed leaves that come up first. Beyond that, I started noticing little white roots peeking out of the drainage holes at the bottom of the cells, which is the plant practically knocking on the door asking for more room. The stem should look sturdy and upright rather than thin and stretched, and as a rough timeline, all of this tends to land around three to four weeks after germination.
One thing I made a point of remembering: pot up incrementally. It’s tempting to grab the biggest pot you own and give the plant all the space in the world, but that backfires. The move goes cell to a small 9 cm pot, then up to 15 cm pot, and only later into the final container.
What I gathered before I started
I’m the type who likes everything laid out on the table before I get my hands dirty, so I prepped my supplies first.
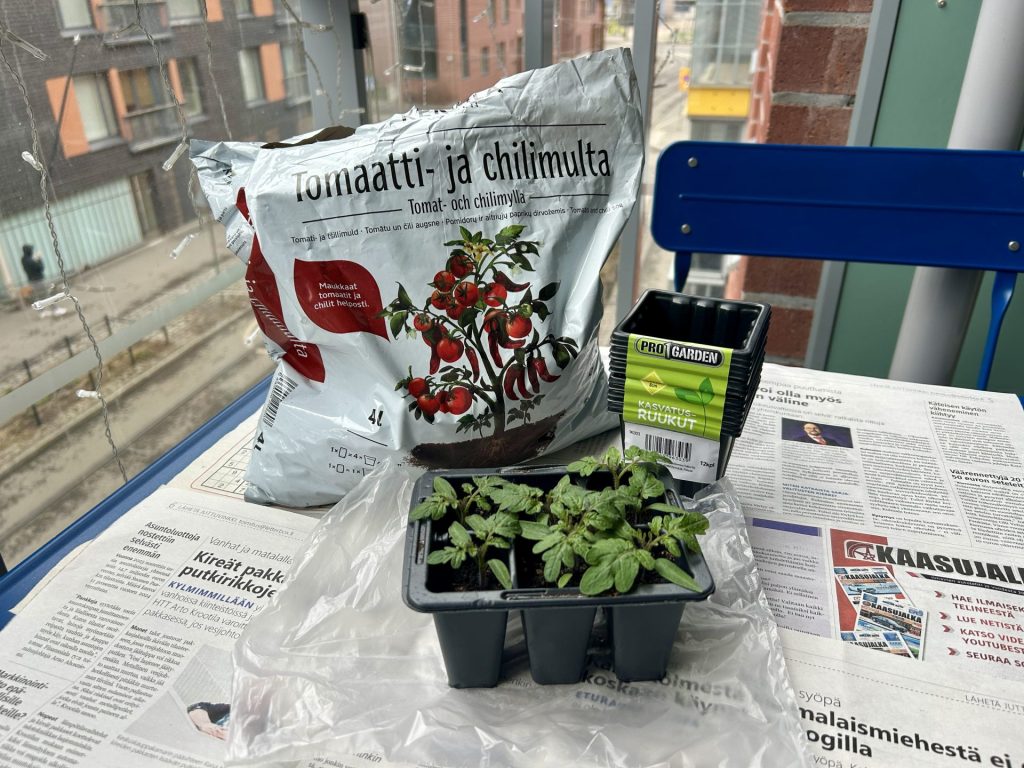
For pots, the rule I followed was one size up, in my case that meant 9 cm pots, one for every seedling I had waiting to be moved. Whatever the pot, drainage holes are non-negotiable; without them, water pools at the bottom and rots the roots.
I also learned that the material genuinely changes how you’ll care for the plant. Terracotta breathes beautifully but dries out faster, so it means watering more often. Plastic holds moisture longer, which honestly makes it the more forgiving choice for a beginner like me. Fabric pots offer excellent aeration and air-prune the roots naturally as they grow, which makes them a favorite for tomatoes. Colour matters too. Dark pots soak up more heat, and since I’m gardening in Finland’s cool climate, that’s a small bonus rather than a risk. In a hot climate those same dark pots could cook the roots.
For soil, I used a planting mix made for chili and tomato, with nutrients already worked into it and ready for the plants to draw on.
Picking the right time of day
Timing the actual move turned out to matter more than I expected. The best windows are early morning or late afternoon and evening (never the heat of midday!). Cooler temperatures dramatically reduce transplant shock, giving the plant a gentle landing instead of a stressful one. If the day happens to be cloudy and overcast, then any time works fine. And once the potting was done, I planned to keep each plant in indirect light or shade for a day or two before easing it back into full sun.
The pot-up itself, step by step
Here’s how the actual moving went, plant by plant.
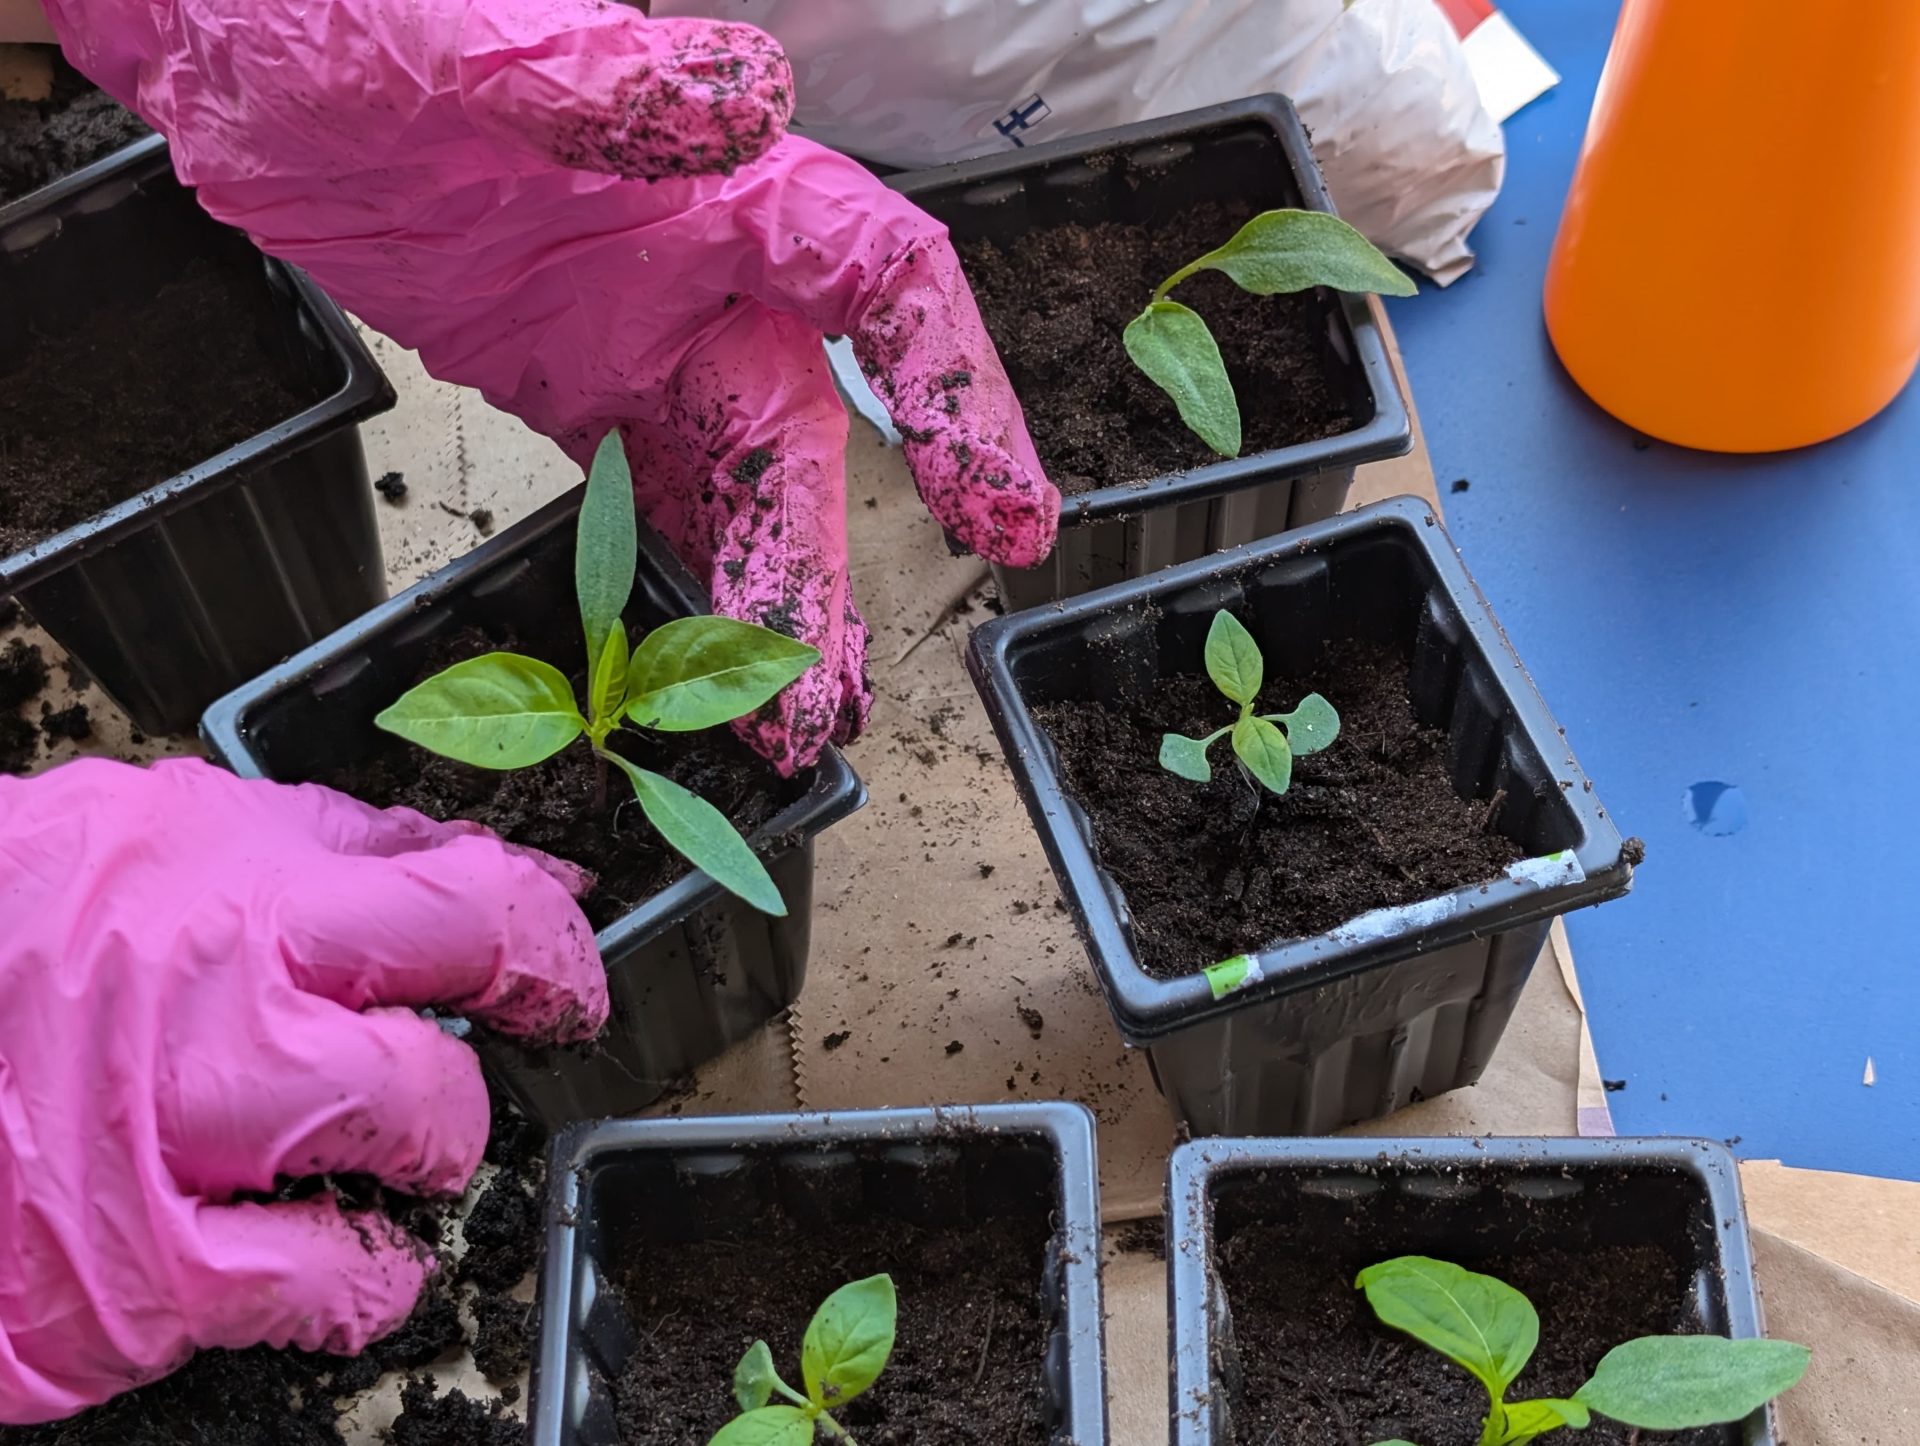
First, I filled each new pot with soil, giving the seedling a fresh bed to settle into. Then came the delicate part: getting the seedling out of its old cell. I squeezed the sides gently to loosen the root ball, I tipped them over, gave a light tap, and let the plant slide out into my waiting hand. The cardinal rule throughout was simple: never yank by the stem!
With the seedling free, I took a moment to inspect the roots. If they were circling tightly around the root ball, I teased them apart with my fingers to encourage them to spread outward, and I trimmed away any roots that looked black or mushy using clean scissors.
This is where my plants parted ways. For the tomatoes, I planted them deeper than they’d been before, burying the stem up to the lowest set of leaves. Tomatoes have a wonderful trick: they grow new roots all along any buried section of stem, so planting deep builds a stronger, more drought-resistant plant. The chili and basil don’t share that ability, so I set them at their normal height, no deeper than before.
Once each plant was positioned, I filled in around the root ball and pressed the soil down gently to push out any air pockets. Those pockets dry the roots out if you leave them. I finished by leaving a gap of one to two centimetres between the soil surface and the rim of the pot, which gives water somewhere to sit while it soaks in instead of spilling over the edge.
Watering them in and keeping them happy
Right after potting, I watered each plant slowly and deeply until water ran freely out of the drainage holes. That first thorough soak does double duty: it settles the soil and clears out any lingering air pockets around the roots.
For ongoing watering, I stopped guessing and started checking. I poke a finger two to three centimetres into the soil, and if it feels dry at that depth, it’s time to water. Tomatoes especially crave consistent moisture, let the watering get erratic and you invite blossom end rot and cracked fruit down the line. I water at the base of each plant rather than over the leaves, since wet foliage is an open invitation to fungal disease. Morning is the best time for it, because any stray splash on the leaves dries off over the course of the day. And I keep a close eye on standing water; letting pots sit in a saucer of it brings on root rot fast.
As a rough rhythm, small pots dry out quickly and might need water every day in warm weather, while larger pots can go two or three days between drinks. But I’ve learned to treat that as a loose guide rather than a rule. The soil itself is the real schedule.
Light after the move
Because potting up disturbs the roots, I give each plant a day or two of indirect light or shade to recover from the shock before asking anything of it. After that recovery window, they go back to a minimum of six to eight hours of direct sunlight a day.
Hardening off, for when they head outdoors
Since my plants will eventually move outside, I’m planning to harden them off rather than dump them into the elements all at once. The idea is to spend seven to ten days gradually introducing them to outdoor conditions. For the first three days, I’ll give them one to two hours of outdoor shade. From day four to six, I’ll stretch that to three or four hours and let them catch some gentle morning sun. By day seven through ten, they’ll get full outdoor exposure — though I’ll keep an eye on the forecast and bring them back inside if frost threatens.
The first feeding
I don’t need to rush to feed them either. Because my potting mix already has nutrients in it, I’ll wait two to three weeks before giving the plants their first meal.
Update: A little while has passed since I first potted these up into their 9 cm pots, and they’ve grown like crazy, so it was finally time to move them into their forever homes: roomy 21 cm pots. The good news? I did everything exactly the same way as above. Same loosening of the roots, same fresh potting mix, same “tuck them in and water them well” routine—just on a bigger scale with a bigger pot.
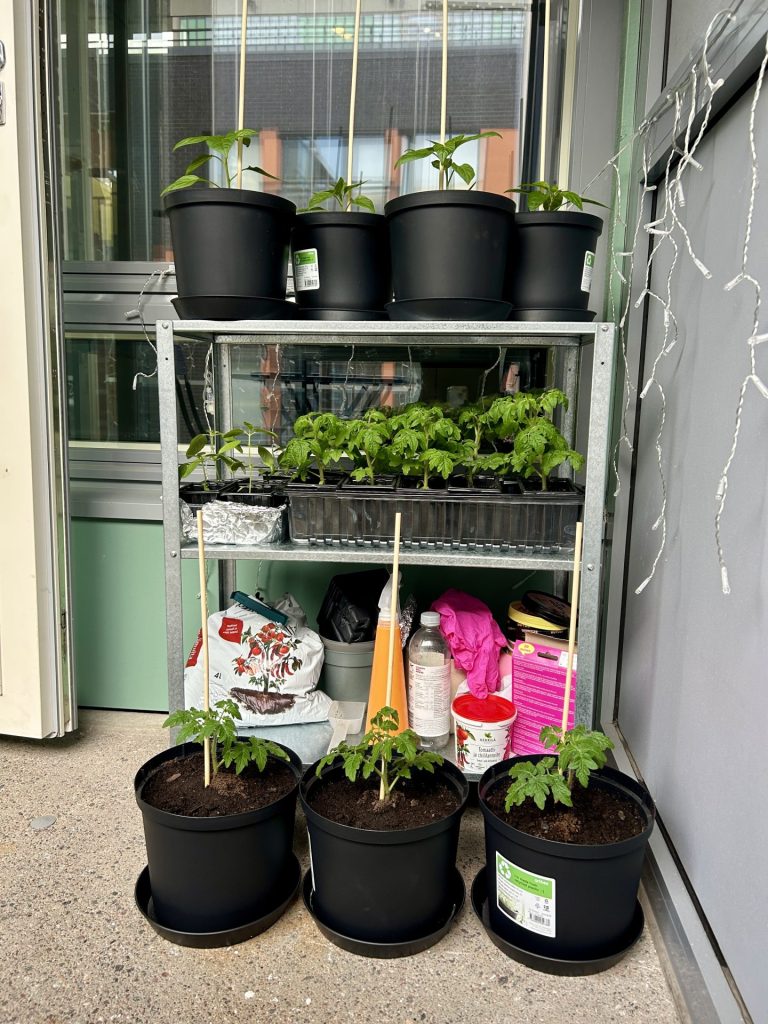
If potting up to 9 cm felt nerve-wracking the first time, going to 21 cm was honestly a breeze, because by now the whole process felt like second nature. So if you’re staring at your seedlings wondering whether the jump to a big pot is going to be complicated: it’s not. Same steps, bigger pot. That’s it.
Getting this potting-up stage right really does set the trajectory for the whole tomato season. If I had to boil it all down to the two things that make the biggest difference, it would be deep planting and consistent moisture. Everything else is just paying attention.
Leave a Reply